How to set up QR table ordering in 7 steps
A practical checklist to set up QR table ordering: menu, photos, tables, QR table cards, a kitchen screen, staff training and launch day.
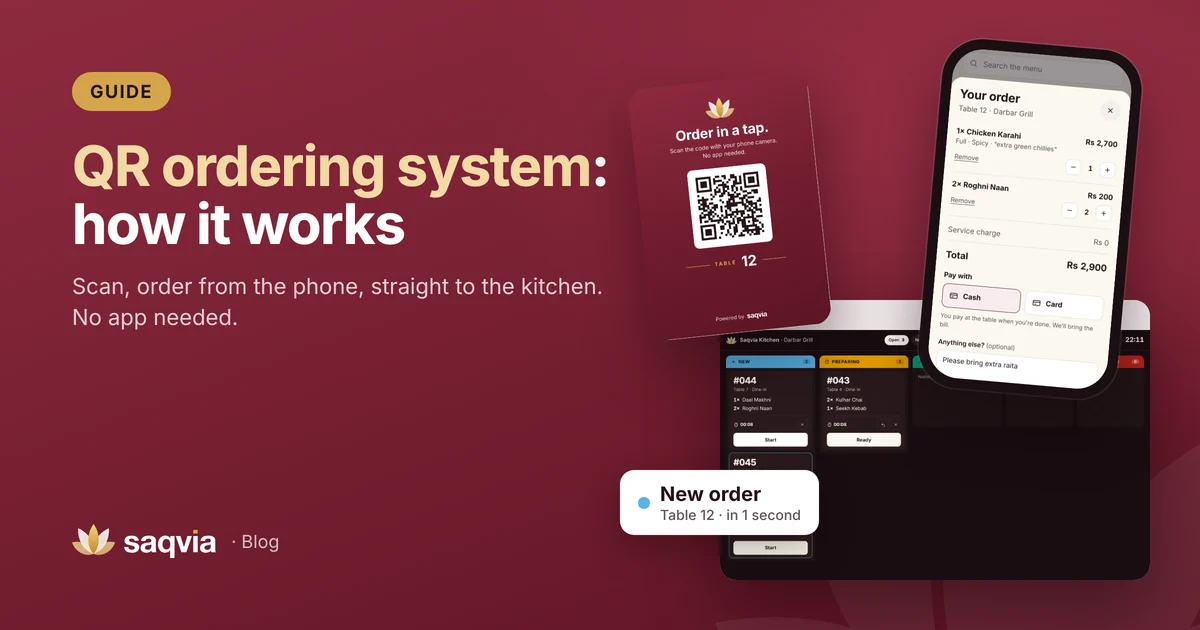
QR table ordering lets guests scan a code on the table, order from their phone and send the order straight to the kitchen. Setting it up is less about technology and more about preparation: a clear menu, good photos, the right number of table cards and a kitchen that knows what to expect.
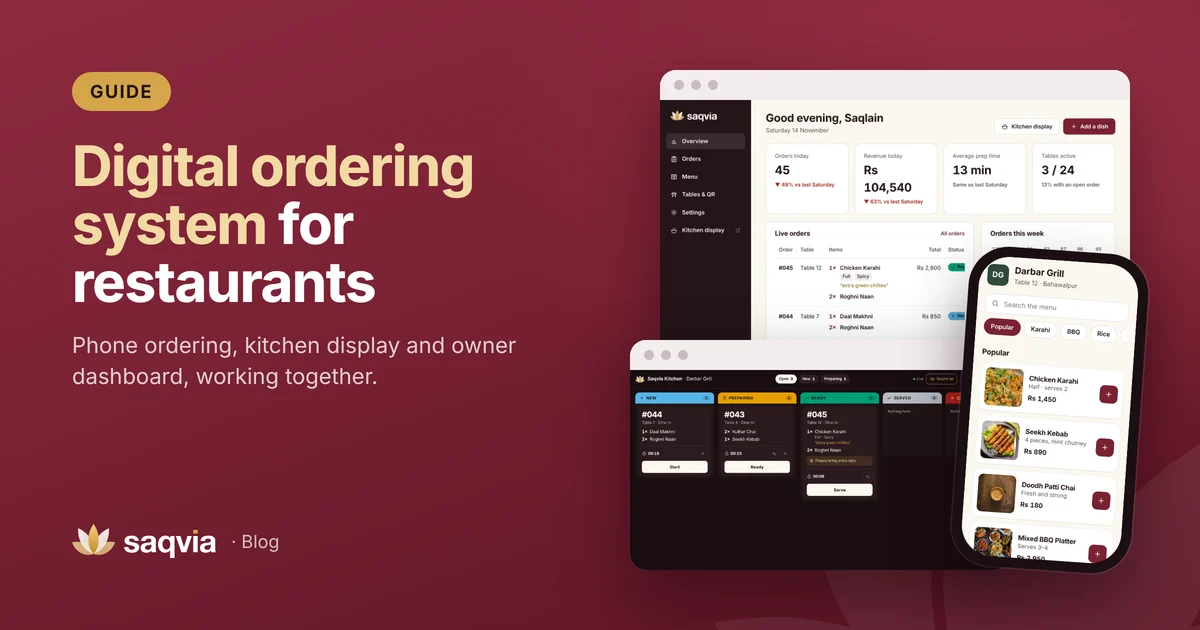
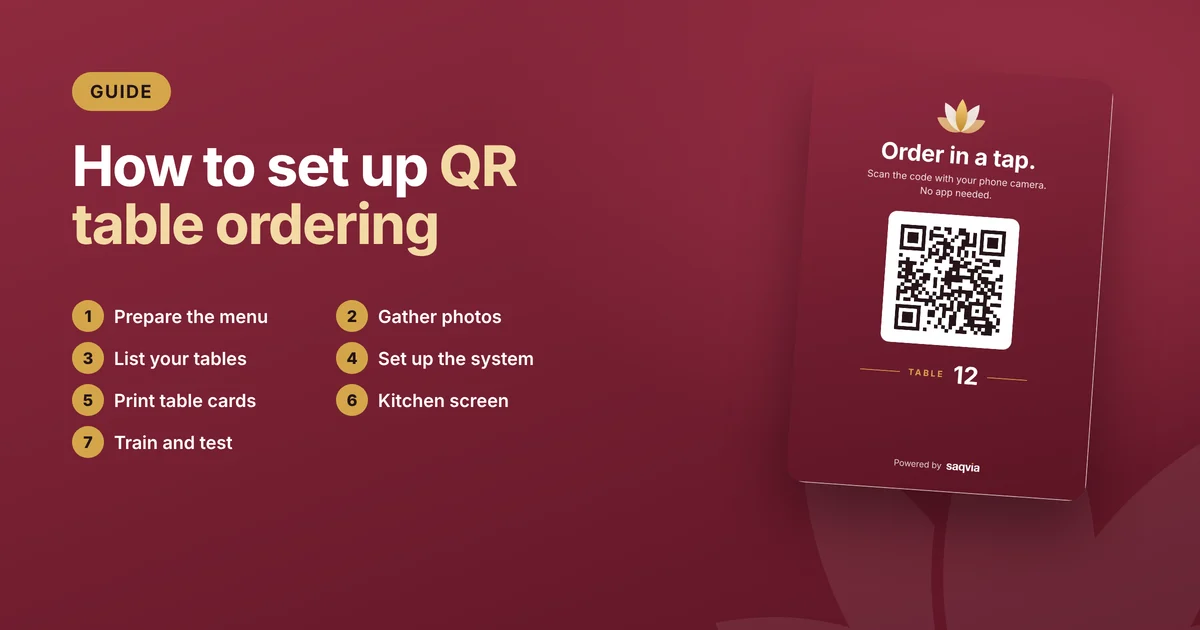
Here is a practical, seven-step checklist to set up QR table ordering in a restaurant, café or hotel. If you are still comparing options, start with what a QR ordering system is.
Step 1: Prepare your menu
Your digital menu will only be as good as the information behind it. Before anything else, write down:
- Sections in the order guests should see them, for example Popular, Starters, Karahi, BBQ, Breads, Drinks.
- Every dish with its name, a short description and the price.
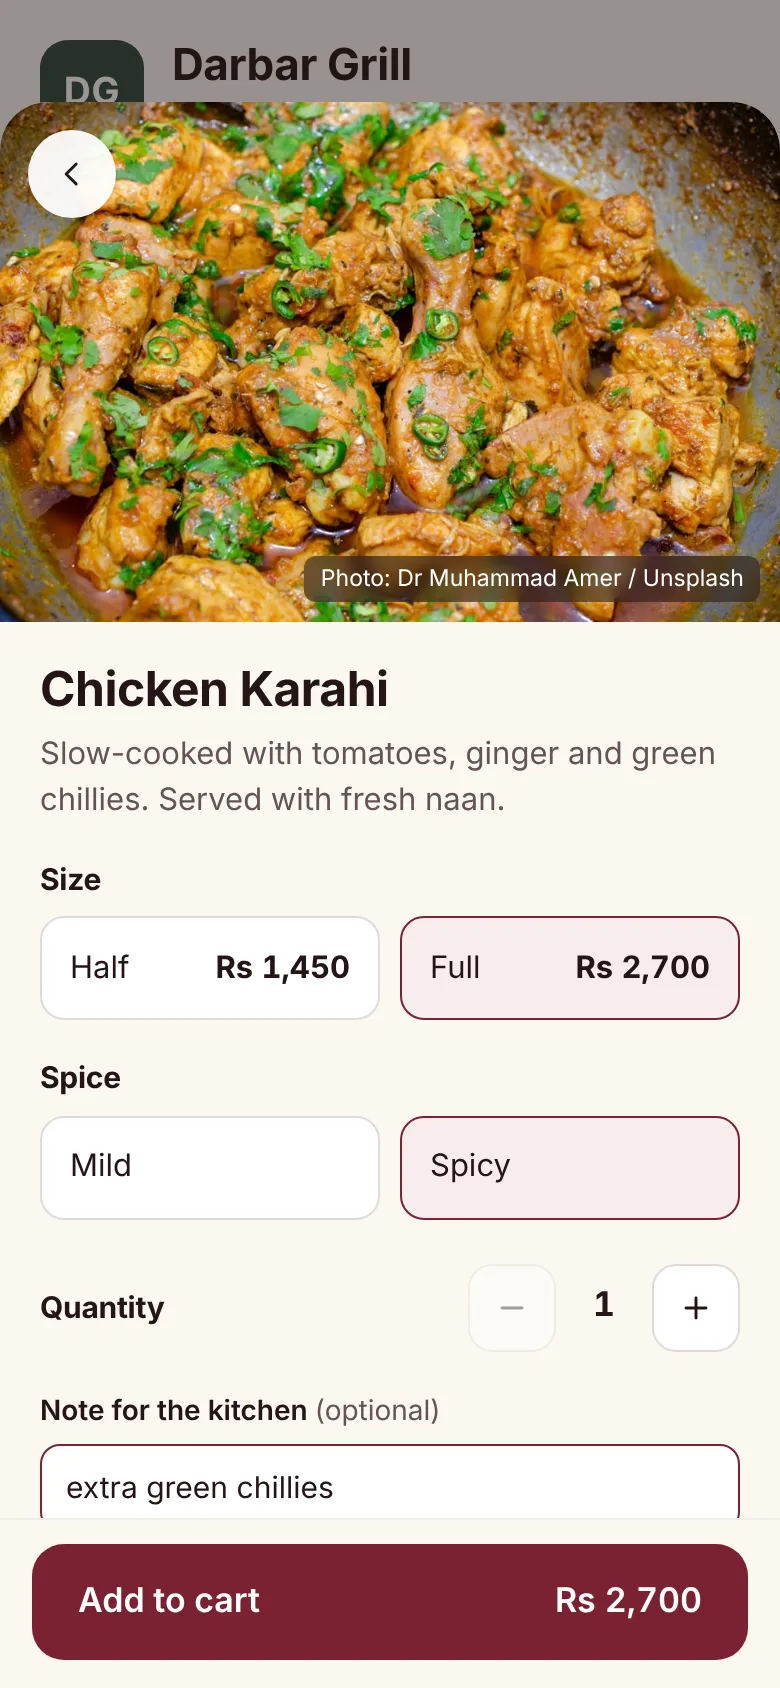
- Sizes where they exist (half and full, small and large) with a price for each.
- Choices like spice level, sauce or bread type.
- Dishes that are often sold out, so you know which ones you will switch on and off.
Keep descriptions short. One line about what is in the dish and how it is served is plenty. Our digital menu design tips cover wording and layout in more detail.
Step 2: Gather photos
Photos help guests choose and reduce questions. Take clear photos of your best sellers in good daylight, from the same angle, on a plain table. You don't need a photo for every dish on day one; start with the most popular and add more over time.
Step 3: List your tables (or rooms)
Each table gets its own QR code, so every order arrives with the right table number. Make a list of every place a guest can order from:
- Dining tables, numbered as your staff already know them.
- Areas with names, such as Terrace 1 or Family hall 2.
- For hotels, rooms or poolside loungers. See our guide to QR room service for hotels.
Use the same names your waiters use, so nobody has to translate "table 14" into "the corner by the window".
Step 4: Set up the system
With your menu, photos and table list ready, set up the system. In Saqvia this means:
- Adding your sections and dishes in Menu.
- Setting your currency, time zone and any service charge in Settings.
- Adding your tables in Tables & QR. Each one gets its own code straight away.

If you work with us, the Saqvia team does this part for you from your menu and photos.
Step 5: Print and place your table cards
Print one card per table. The card should tell guests what to do ("Scan to order"), show the table number clearly and have a QR code large enough to scan from a seat. Laminate the cards or use stands so they survive spills and cleaning.
Put the card where every guest can see it without moving things around: the centre of the table or next to the condiments. Our QR code table card guide covers sizes, contrast and materials.
Test every card before you open: scan each one with a phone and check the right table number appears.
Step 6: Set up the kitchen screen
Choose a screen for the kitchen: a tablet on a stand, a TV on the wall or a laptop. Open the kitchen display, sign in and leave it open. Put it where the cook calling orders can see it.
Then agree on the routine:
- Who taps Start when an order begins?
- Who taps Ready when it is on the pass?
- Who marks it Served?
If you are new to kitchen screens, read our kitchen display system guide.
Step 7: Train staff and run test orders
Before guests use it, run a short practice session:
- Each waiter scans a table card and places an order on their phone.
- The kitchen moves the orders through Start, Ready and Served.
- Waiters watch the order status change on their phone.
- Try a sold-out dish, a note and a cancelled order, so nobody is surprised later.
Teach waiters a simple line for guests: "You can scan this code to see the menu and order whenever you're ready. Or I can take your order."
Launch day tips
- Start on a quieter day rather than your busiest evening.
- Keep a few paper menus for guests who prefer them.
- Watch the kitchen screen during the first service and help where needed.
- Check orders in the dashboard at the end of the day to see how it went.
After launch: keep it fresh
- Mark dishes sold out as soon as they run out, so guests can't order them.
- Update prices in one place when costs change.
- Look at your best sellers and slow sellers each week. Our article on restaurant KPIs explains what to watch.
- Replace worn or faded table cards.
See the whole flow in five minutes
The Saqvia demo tutorial walks through every step on a live demo: tables and QR codes, a guest order on your phone and the kitchen display. When you're ready, book a free demo and we'll set it up with your own menu, including printed table cards.
Frequently asked questions
How long does it take to set up QR table ordering?
Most of the time goes into preparing the menu, photos and table list. Once those are ready, the menu, QR codes and table cards can be set up quickly.
Does every table need its own QR code?
Yes. A code per table means every order arrives in the kitchen with the right table number.
Do I need new hardware?
Usually not. Guests use their own phones, and the kitchen display runs in a browser on a tablet, TV or laptop you may already have.