About 5 minutes
How to use the Saqvia demo
Follow an order from the table to the kitchen and back. You'll sign in as the owner, scan a table's QR code with your phone, order like a guest and watch the order arrive on the kitchen display.
Best with two screens: the kitchen on a laptop, and your phone as the guest.
Step 1: Sign in to the owner dashboard
Open Admin and sign in with the demo account: username admin, password 1234. The same account opens the kitchen display. Every venue has its own admin and crew accounts, set in Team.
Open AdminStep 2: Look around the dashboard
The Overview is what an owner checks first: orders and revenue today compared with the same day last week, average prep time, live orders, the week at a glance and best sellers.
The demo venue is Darbar Grill, a sample restaurant with two weeks of example orders.
Step 3: Open Tables & QR
Choose Tables & QR in the side menu. Every table has its own QR code, so each order arrives with its table number.
- Open shows that table's menu on this screen.
- Print makes a ready-to-print table card. Print all table cards does every table at once.
- Add tables by typing names or numbers, like 25, Terrace 1.
Step 4: Open the kitchen display on a second screen
Open the Kitchen display on your laptop, a tablet or a TV and leave it open. This is the screen your cooks watch. New orders appear here within a second, with a chime.
On a phone the kitchen shows one status at a time, chosen with the tabs at the top.
The kitchen screen updates by itself. There is no need to refresh it.
Open Kitchen display
Step 5: Scan the table QR code with your phone
Pick up your phone and open the camera. Point it at the QR code for table 12 on this page and tap the link that appears. The menu opens in the browser: no app to download.
On a computer without a phone? Use the button below, or Open on any table in Tables & QR.
This code is the real table card for table 12 of the demo, exactly as it prints. Guests see a card like this on their table.
Open the table 12 menu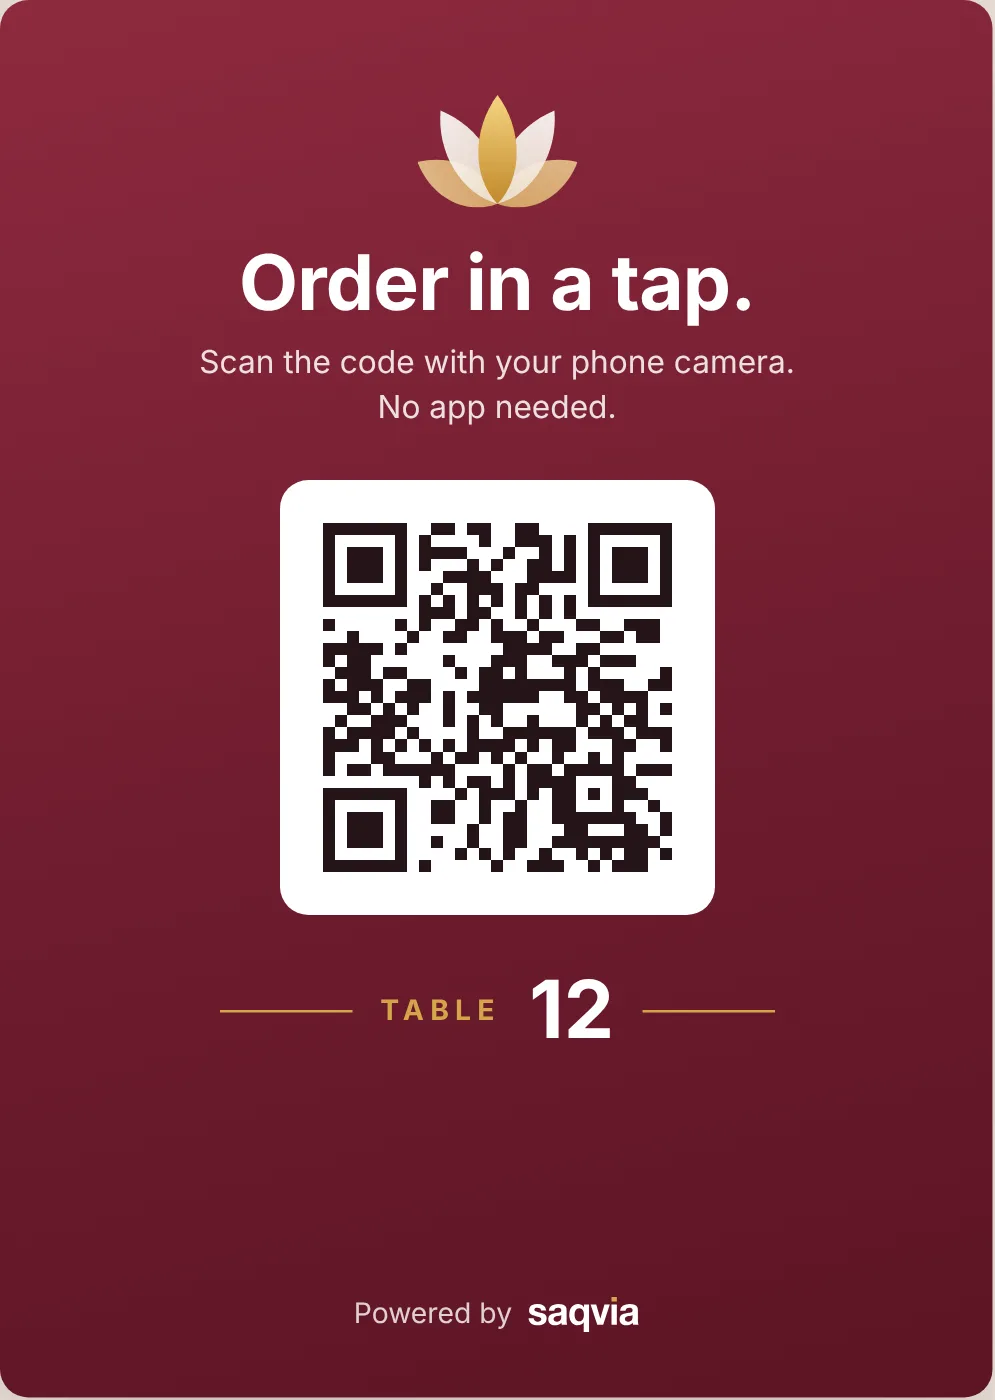
Scan me: table 12 of the demo 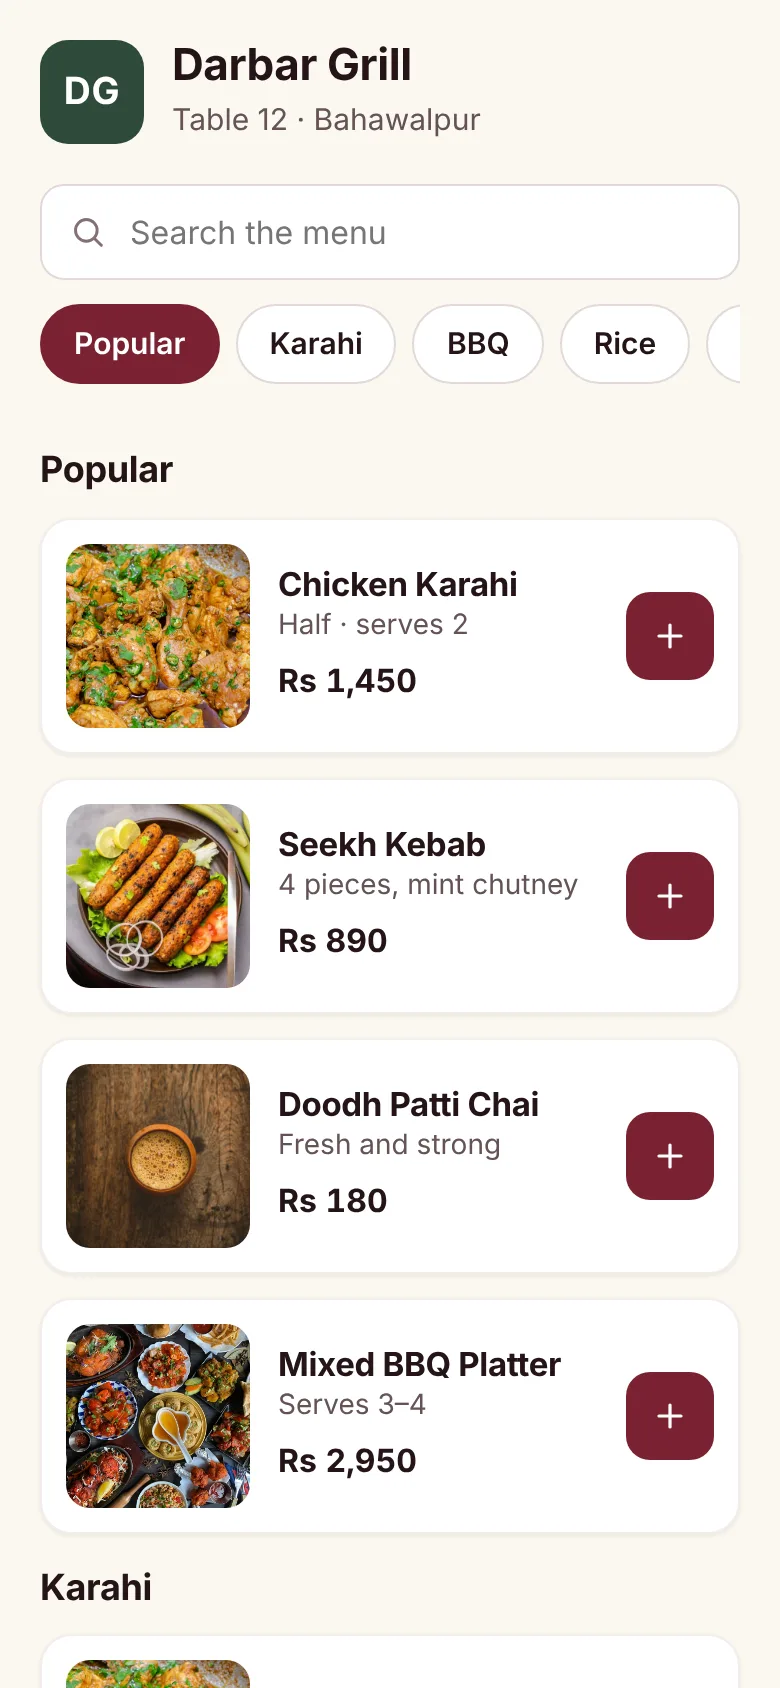
What the guest sees Step 6: Choose dishes like a guest
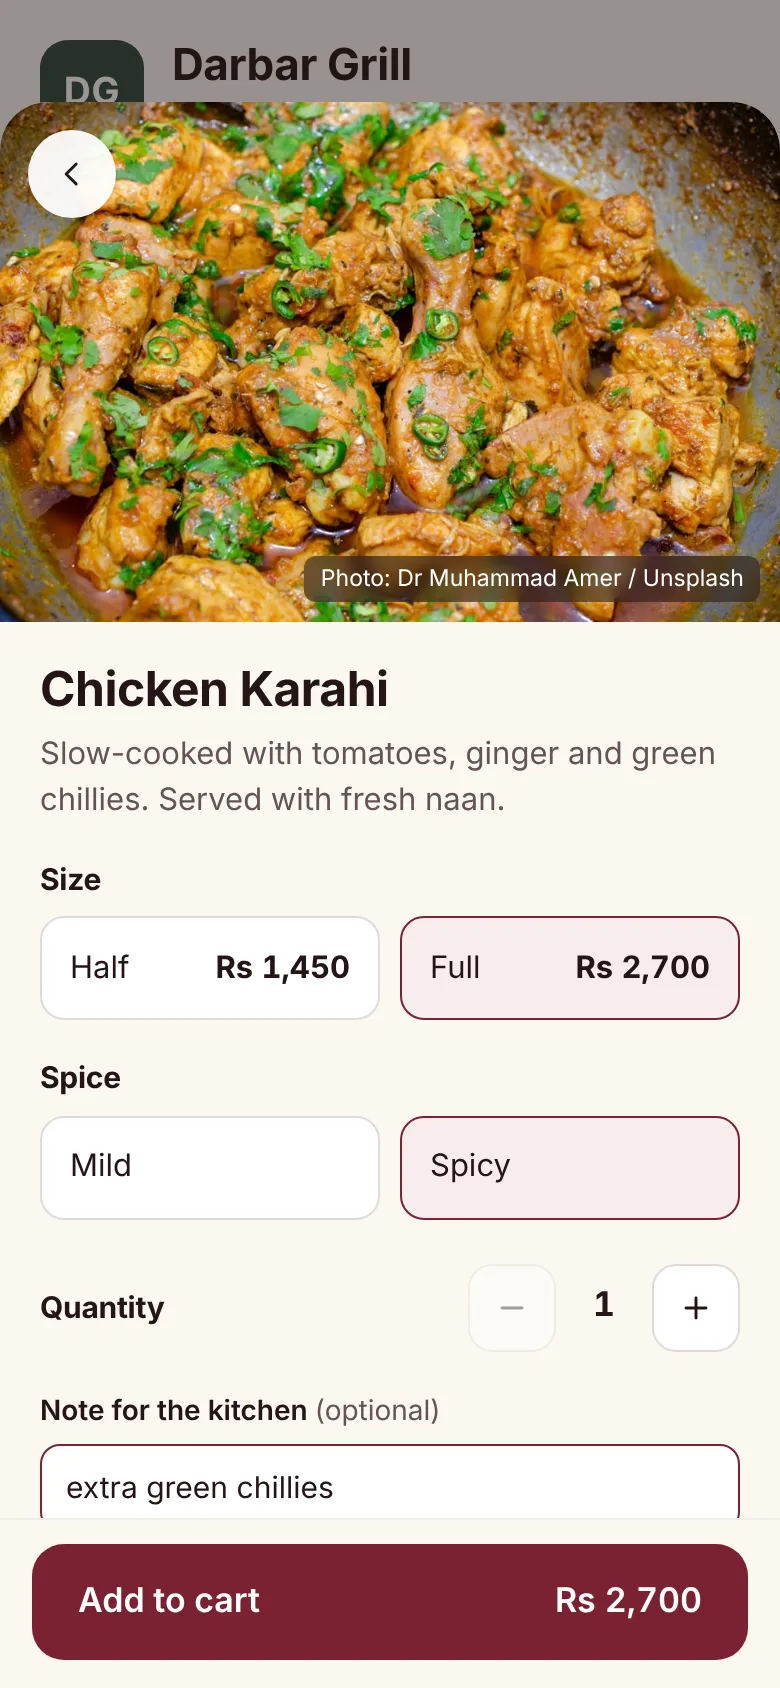
Tap a dish to open it. Choose the size and options such as spice level, add a note for the kitchen (for example “extra green chillies”) and tap Add to cart.
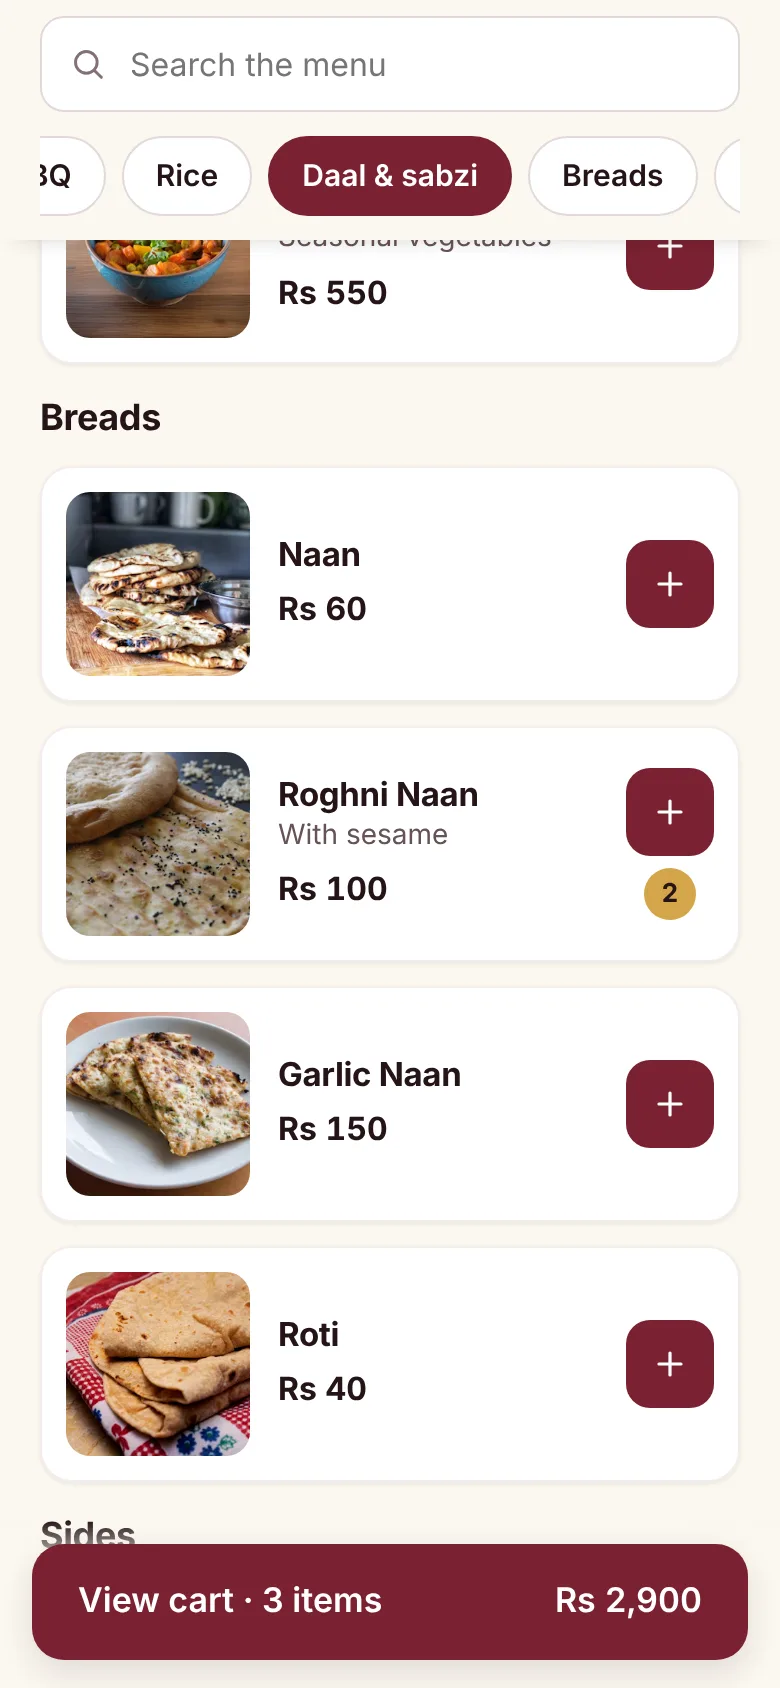
The + button adds a dish in one tap. The bar at the bottom shows the cart total.
Step 7: Place the order
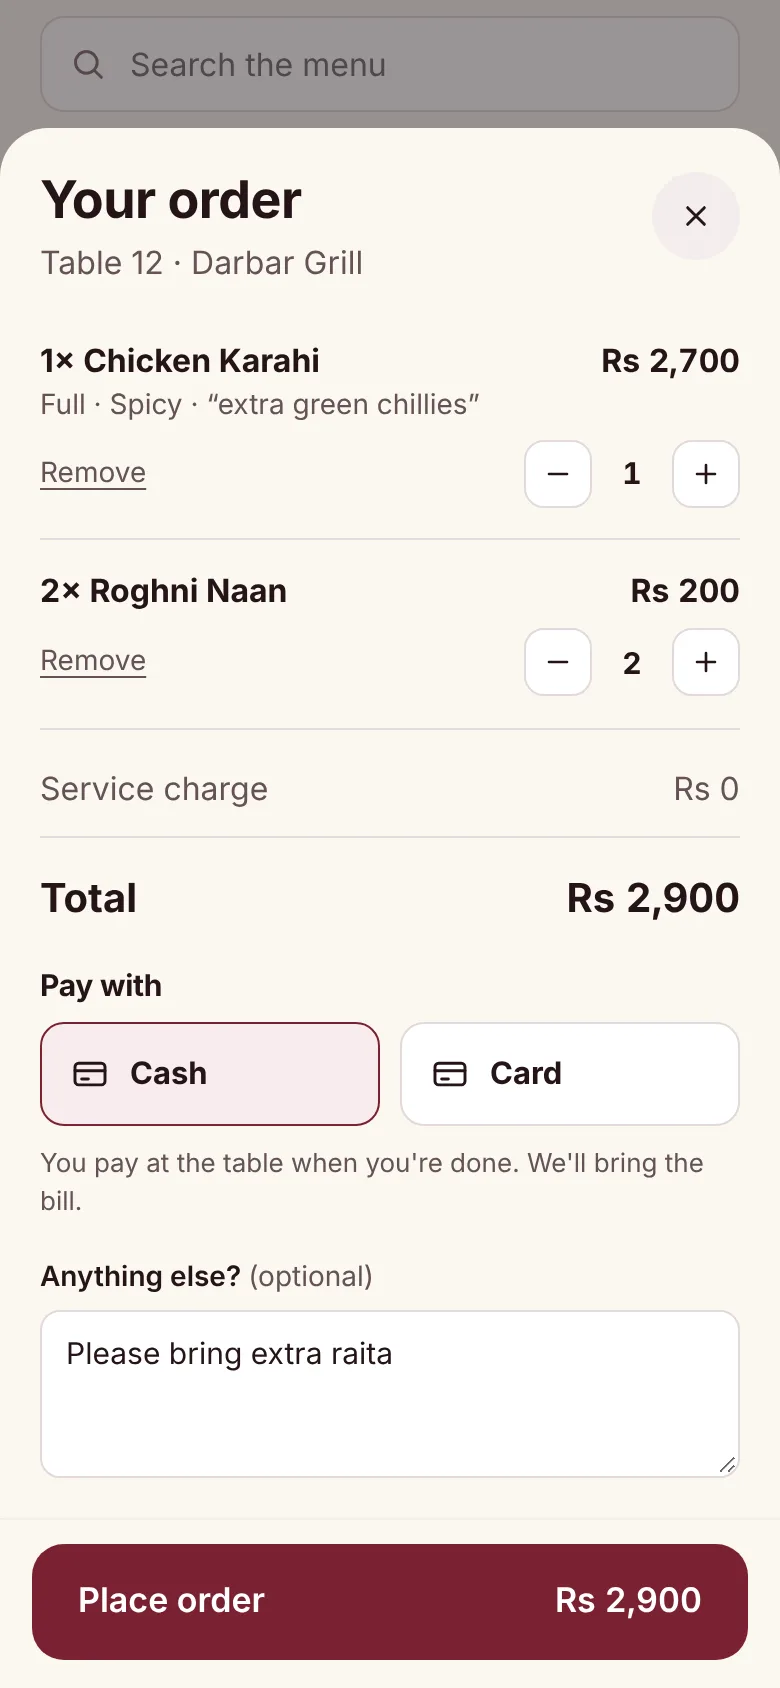
Tap View cart, check the order, choose Cash or Card (paid at the table) and tap Place order.
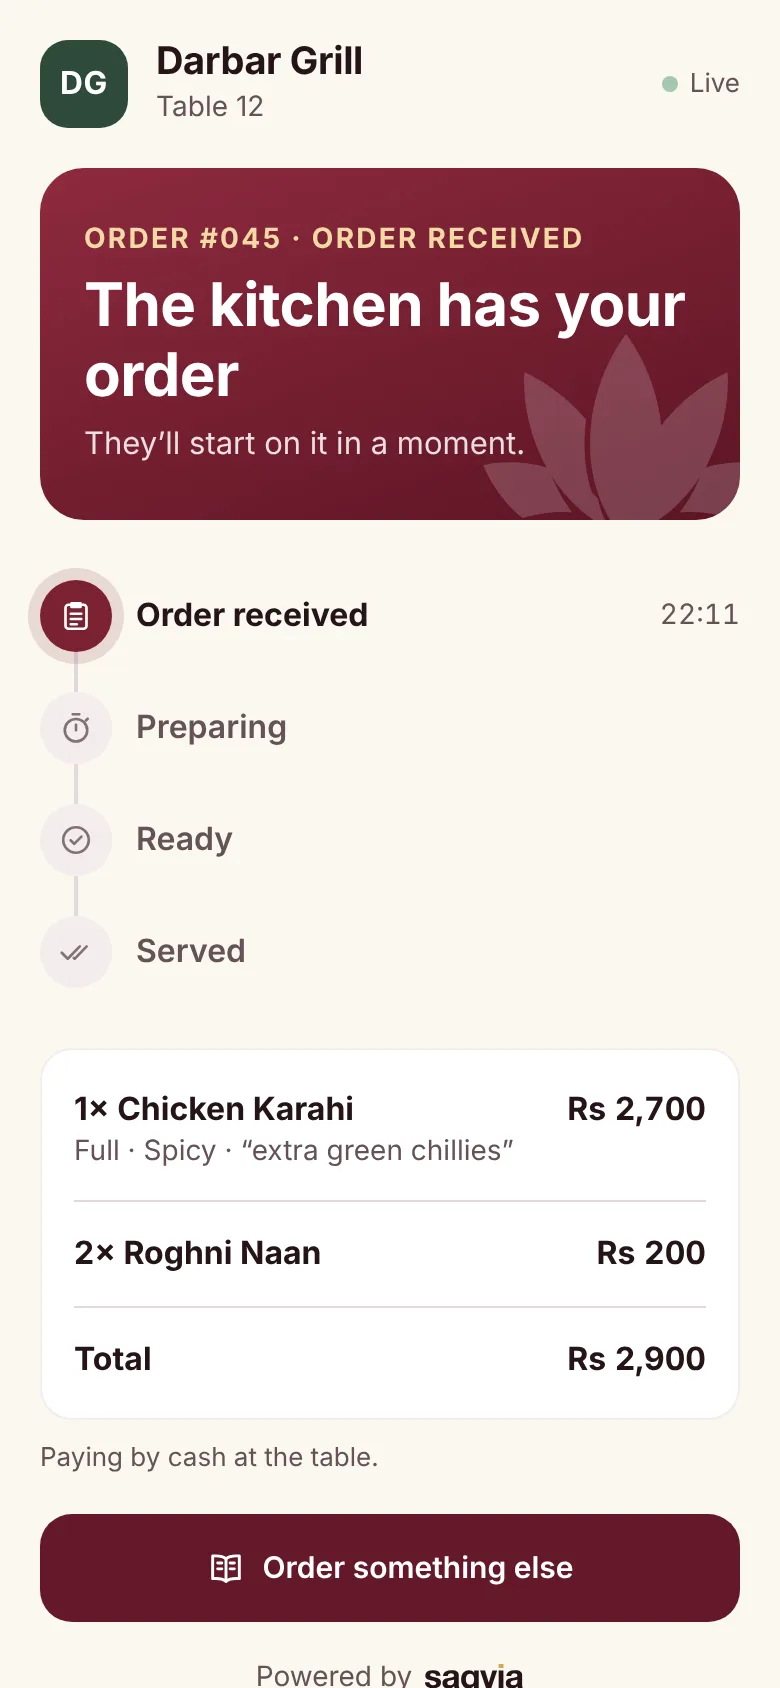
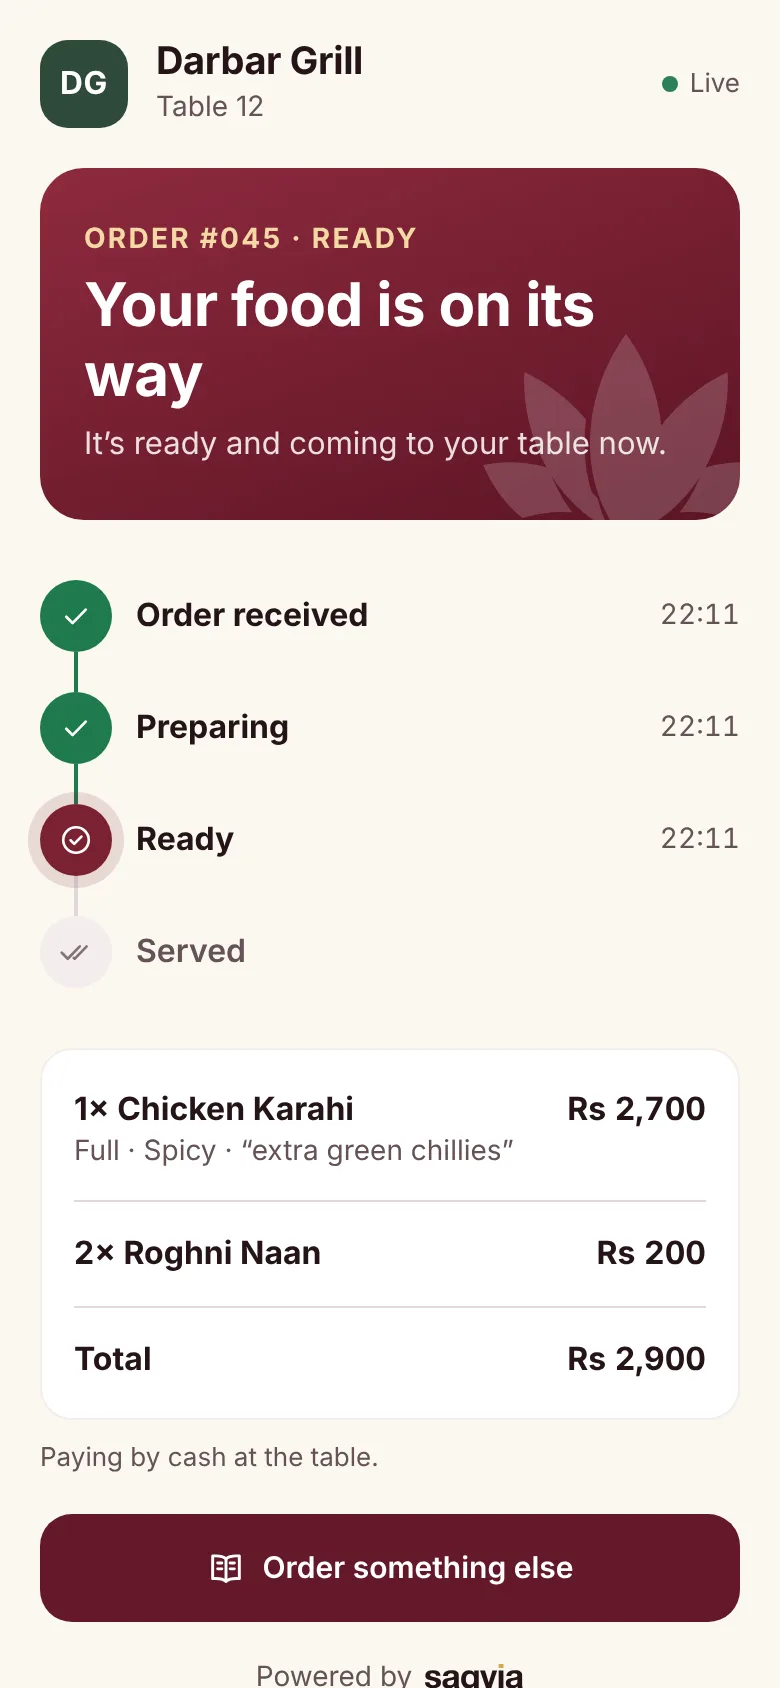
The phone now shows a live status screen: received, preparing, ready, served. The guest can leave it open or order something else.
Step 8: Watch the order arrive in the kitchen
Look at the kitchen screen: your order appears in New straight away, with the table number, each dish on its own line, the options, the note and a timer.
Colours and icons show each status, so they are easy to read from across the kitchen and are colour-blind safe.
Step 9: Tap Start, Ready and Serve
On the ticket tap Start, then Ready, then Serve. Each tap moves the order to the next column, and the guest's phone updates at the same moment.
Made a mistake? The undo arrow moves an order back a step, and the cross cancels it.
Step 10: See every order in Admin
Back in Admin, Orders lists every order with its table, items, total and status. The figures on the Overview update as orders come in.
Open OrdersStep 11: Change the menu
In Menu you can add dishes and sections, change prices, photos, sizes and choices, mark a dish Popular or Sold out.
Try marking a dish sold out, then look at the guest menu: it changes straight away.
Open MenuStep 12: Settings, and starting again
In Settings a venue sets its name, colour, currency, time zone, service charge and whether QR orders are paused, so Saqvia works in any country.
Want an empty kitchen again? Clear all orders at the bottom of Settings removes every order from the demo.
Open Settings




Questions about the demo
Do I need to download an app to try the demo?
No. Everything runs in the web browser on a phone, tablet or computer. Guests only use their phone camera to scan the QR code.
How do I sign in to the demo?
Use username admin and password 1234. The account opens both the owner dashboard (Admin) and the kitchen display.
Why do I see orders I did not place?
The demo is shared, so you may see orders other visitors placed. In Admin, Settings, Clear all orders empties the kitchen.
The QR code does not open on my phone. What can I do?
Make sure the phone is online and the camera app has QR scanning turned on, then hold the phone steady about 20 cm from the code. You can also open the table 12 menu with the button in step 5.
Can I see a demo with my own menu?
Yes. Book a free demo and the Saqvia team will set it up with your own dishes, photos and tables.
Want this for your venue?
We'll show you a demo with your own menu, then set everything up, including printed QR table cards.
Want to learn more first? Read the Saqvia blog.